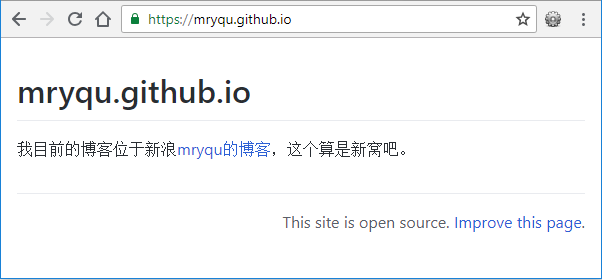
在新浪博客贴代码片段诸多不爽,技术文章也时常通不过莫名其妙的关键词审查。偶尔心动,就创建了https://github.com/mryqu/mryqu.github.io,立刻新博客就出来了。
 感觉有点简陋,开始琢磨theme之类的东东,然后就陷入了Jekyll、Hexo、Pelican等工具的比较纠结中,最后选定了用Node.js编写的博客框架Hexo及主题hexo-theme-next。
安装Hexo
安装Hexo的前提条件是已经安装好了Node.js和NPM:
mryqu@mryqu MINGW64 /c/quTools
$ node -v
v6.9.5

mryqu@mryqu MINGW64 /c/quTools
$ npm -v
3.10.10
安装Hexo:
mryqu@mryqu MINGW64 /c/quTools
$ mkdir hexo

mryqu@mryqu MINGW64 /c/quTools
$ cd hexo

mryqu@mryqu MINGW64 /c/quTools/hexo
npm install -g hexo-cli

mryqu@mryqu MINGW64 /c/quTools/hexo
npm install hexo --save
创建博客
mryqu@mryqu MINGW64 /c/users/mryqu
$ hexo init blog

mryqu@mryqu MINGW64 /c/users/mryqu
$ cd blog

mryqu@mryqu MINGW64 /c/users/mryqu/blog
$ git clone https://github.com/iissnan/hexo-theme-next themes/next

mryqu@mryqu MINGW64 /c/users/mryqu/blog
$ cd themes/next

mryqu@mryqu MINGW64 /c/users/mryqu/blog/themes/next
$ git tag -l

mryqu@mryqu MINGW64 /c/users/mryqu/blog/themes/next
$ git checkout tags/v5.1.4

mryqu@mryqu MINGW64 /c/users/mryqu/blog/themes/next
$ cd ../..

mryqu@mryqu MINGW64 /c/users/mryqu/blog
$ git clone https://github.com/theme-next/hexo-theme-next themes/next-reloaded

mryqu@mryqu MINGW64 /c/users/mryqu/blog
$ cd themes/next-reloaded

mryqu@mryqu MINGW64 /c/users/mryqu/blog/themes/next-reloaded
$ git tag -l

mryqu@mryqu MINGW64 /c/users/mryqu/blog/themes/next-reloaded
$ git checkout tags/v6.3.0

mryqu@mryqu MINGW64 /c/users/mryqu/blog/themes/next-reloaded
$ cd ../..

mryqu@mryqu MINGW64 /c/users/mryqu/blog
npm install hexo-deployer-git --save

mryqu@mryqu MINGW64 /c/users/mryqu/blog
hexo new page categories

mryqu@mryqu MINGW64 /c/users/mryqu/blog
hexo new page tags
修改blog/_config.yml:
......
theme: next
......
deploy:
  type: git
  repo: https://github.com/mryqu/mryqu.github.io.git
  branch: master
  name: mryqu
  email: quyandong@yahoo.com
注:
- hexo-theme-next从6.0起从https://github.com/iissnan/hexo-theme-next移到https://github.com/theme-next/hexo-theme-next,我目前还是决定采用5.x.x版本;
- deploy下面子项在冒号后必须有一个空格,否则会导致hexo-deployer-git解析失败。
修改blog/themes/next/_config.yml:
......
menu:
  home: / || home
  #about: /about/ || user
  tags: /tags/ || tags
  categories: /categories/ || th
  archives: /archives/ || archive
  #schedule: /schedule/ || calendar
  #sitemap: /sitemap.xml || sitemap
  #commonweal: /404/ || heartbeat

......
# Schemes
#scheme: Muse
#scheme: Mist
scheme: Pisces
#scheme: Gemini

......
# Disqus
disqus:
  enable: true
  shortname: mryqu
  count: true
注:
- 主题方案从默认的Muse改成Pisces;
- 首页显示分类和标签;
- 使用Disqus评论系统。
修改blog/source/categories/index.md:
---
title: 文章分类
date: 2018-07-30 17:20:38
type: "categories"
---
修改blog/source/tags/index.md:
---
title: 标签
date: 2018-07-30 17:21:02
type: "tags"
---
修改blog/scaffolds/post.md:
---
title: {{ title }}
date: {{ date }}
categories:
tags:
---
配置Disqus
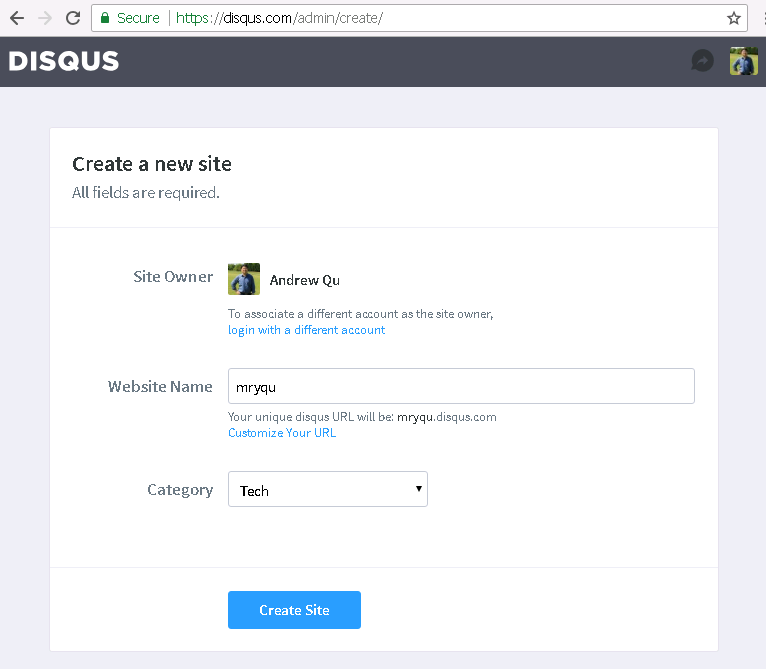
在https://disqus.com上注册账户,然后创建新Site。
 并没有找到Hexo平台,选择Universal Code即可。而Hexo除了配置Disqus短名称,别的工作Hexo都已完成了。
更新博文
在source_posts目录下创建新Markdown博文,即可通过Hexo命令完成生成html、启动本地服务器、部署到GitHub等工作。
- hexo clean: 清除缓存文件(db.json)和生成文件(public)
- hexo generate: 生成静态文件
- hexo server或hexo s: 启动本地服务器,默认为http://localhost:4000/。hexo s -p 5000即启动http://localhost:5000/
- hexo deploy或hexo d: 提交到GitHub上
- hexo s -g: 生成静态文件并启动本地服务器
- hexo d -g: 生成静态文件并提交到GitHub上
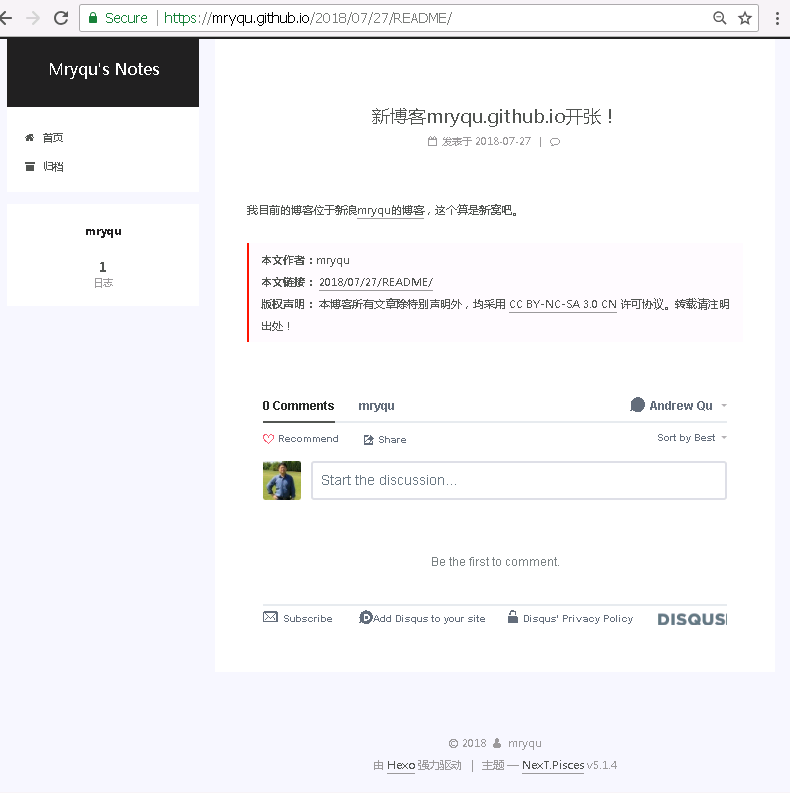
新界面如下所示,大功告成!

参考
11个最流行的静态(博客)网站生成工具
GitHub: Hexo
Hexo Commands
使用Hexo搭建个人Github博客
Hexo-Next下添加版权声明模块
再议评论服务:从多说到 Disqus
Hexo使用攻略-添加分类及标签