在网上看到了GitHub plugin for Gerrit,学习一下。
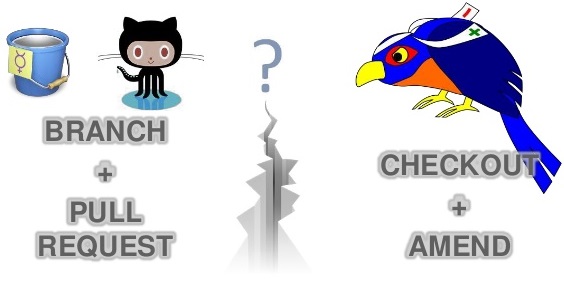
对比GitHub与Gerrit的代码审查机制
GitHub一派的代码审查机制主要通过fork一个远程分支,进行本地修改并提交到远程分支,然后通过PULL REQUEST来请求代码审查及合并回原上游远程分支。
Gerrit一派的代码审查机制主要通过checkout一个分支(refs/for/master)。从Gerrit克隆获得本地分支,进行修改并提交到Gerrit的refs/for/master分支,中间还可以通过Amend commit修改之前的提交,经过评审人批准后,代码会提交到"权威"仓库。
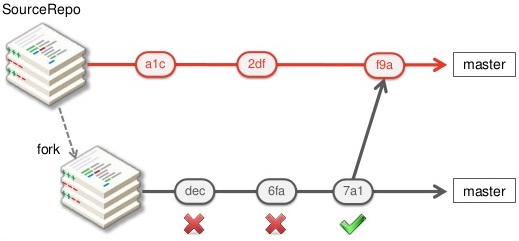
GitHub BitBucket GitLab Gitorious阵营
这一派的PULL REQUEST基于两个分支的合并,注释可能会乱一点,有点惹人烦。不考虑将所有原子/相关修改作为一个提交。除了写注释无法知道审查打分情况。
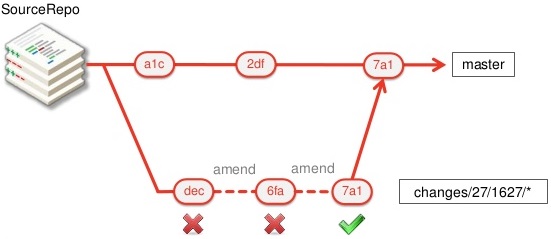
Gerrit GitBlit阵营
这一派的每个提交有其审查结果,可以清晰查看以往历史。Gerrit审查可以强制成仅接受快进(fast-worward)或可rebase的提交。
用于Gerrit代码审查的GitHub插件
https://gerrit-review.googlesource.com/#/admin/projects/plugins/github 优点:
- 引入Pull Requests ->Gerrit改动/主题
- 使用Gerrit认证规则重用GitHub账户
- 复制: 代码继续存在于http://github.com 仓库
- 防止不可管理的fork激增
- 避免GitHub垃圾邮件 ->每个改动一封电邮
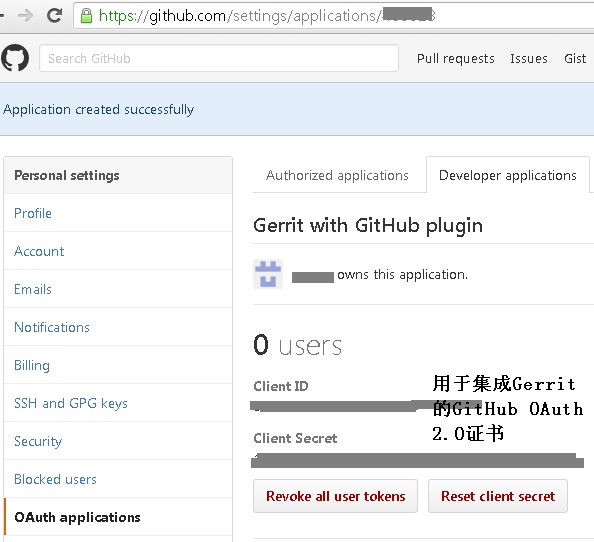
第一步:为Gerrit在GitHub上注册新的OAUTH应用
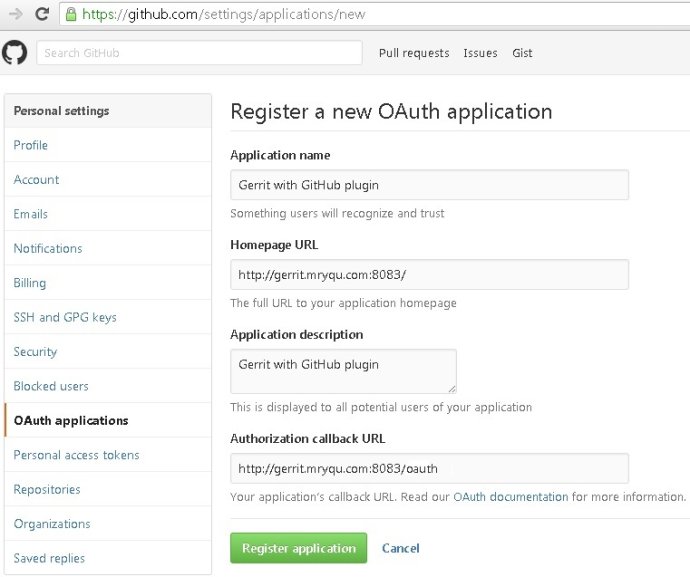
第二步:获取Client ID和Client Secret
第三步:下载并安装Gerrit
下载地址:https://gerrit-releases.storage.googleapis.com/index.html
为了确保安装成功,首先使用DEVELOPMENT_BECOME_ANY_ACCOUNT作为认证方式确保能登录进Gerrit。
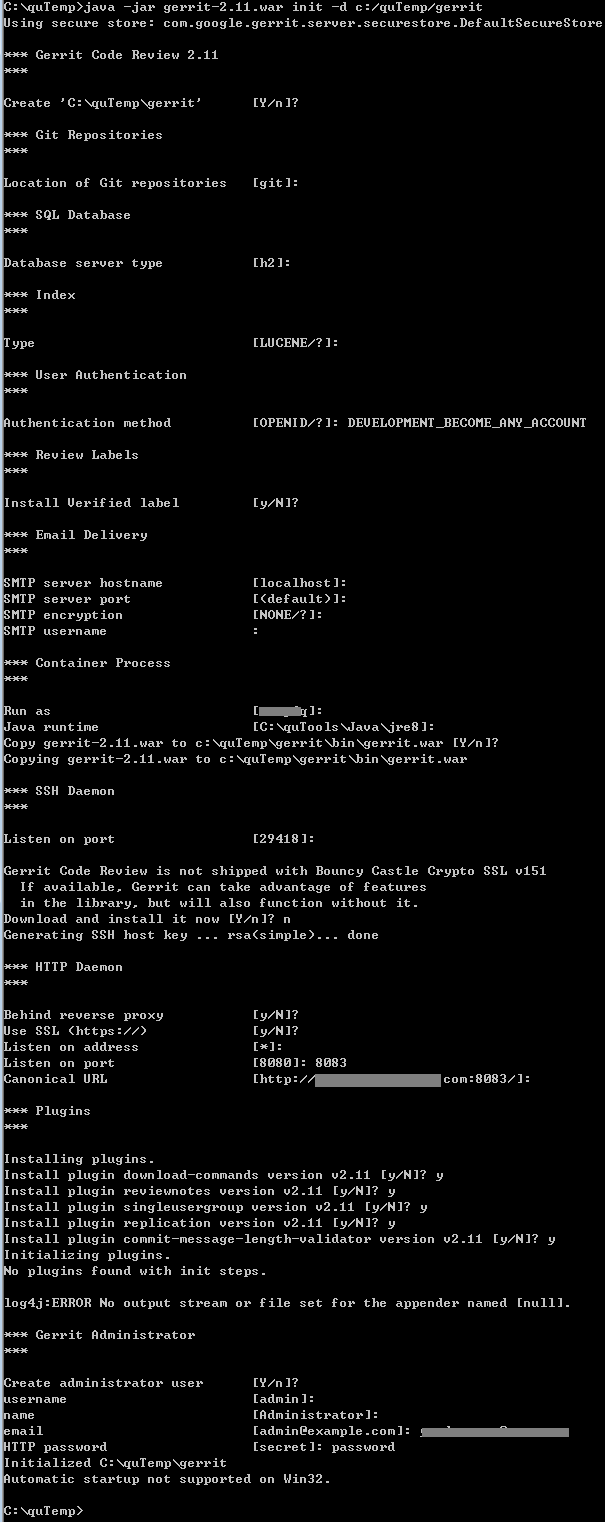 使用Git Bash启动Gerrit。
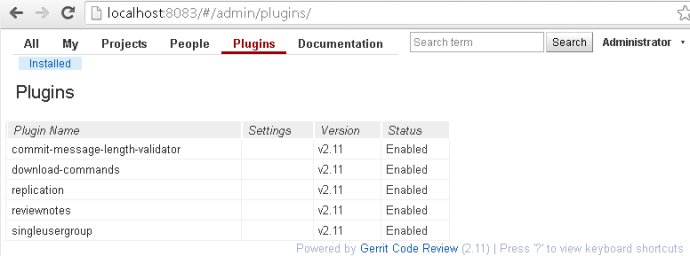
 登陆后,可以查看到当前安装的插件。
第四步:构建GitHub插件
git clone https://gerrit.googlesource.com/plugins/github && cd github
mvn install
第五步:安装OAUTH过滤器和GitHub插件

第六步:重新配置Gerrit
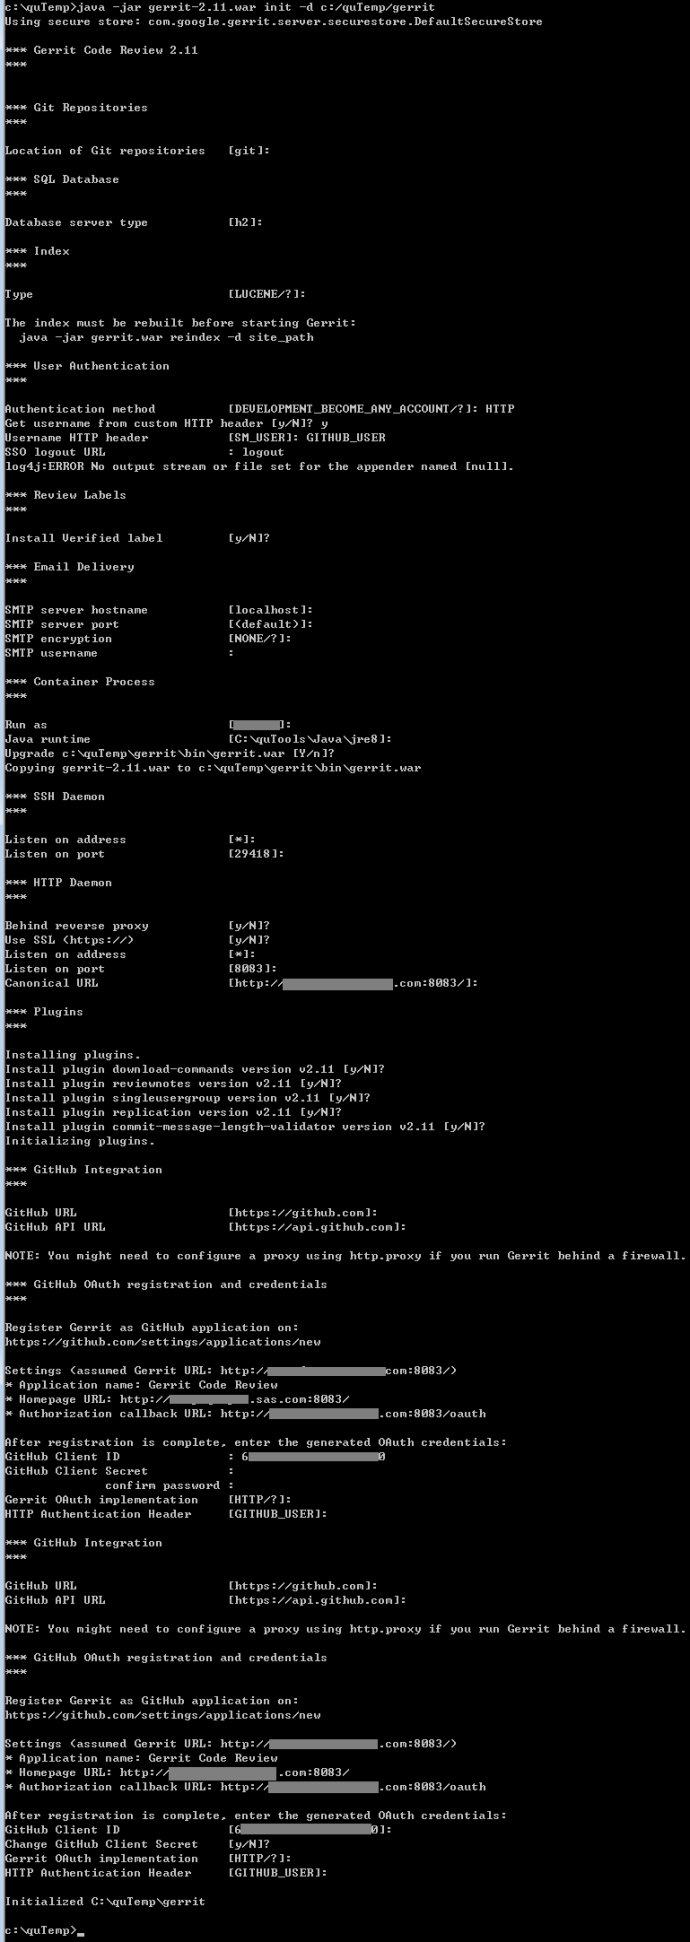
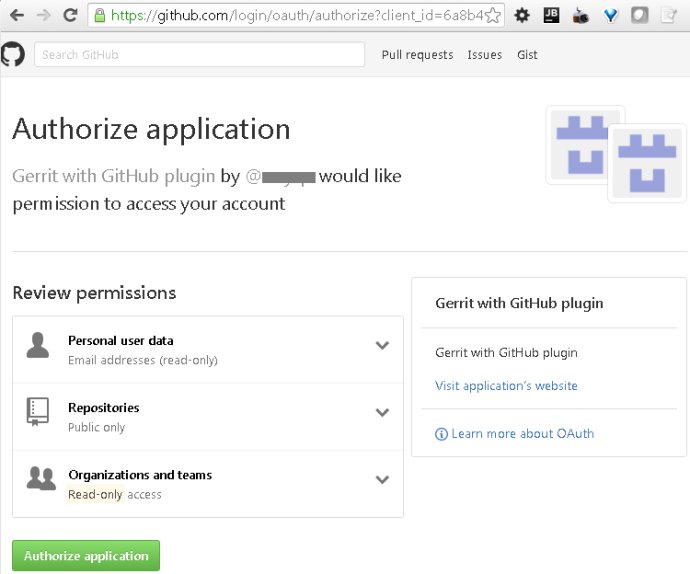
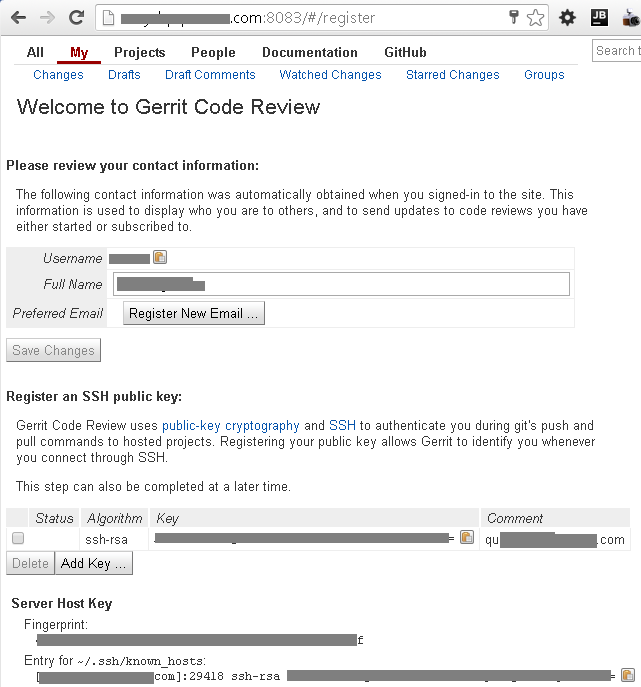
第七步:完成GitHub认证

参考
GitHub plugin for Gerrit
Gerrit vs Github: for code review and codebase management
GerritHub
Gerrit Code Review or Github’s fork and pull ? Take both !
Gerrit Code Review - Configuration
Gerrit Code Review - Plugin Install
GitHub configuration during Gerrit init
Config Gerrit Server Behind Apache Https Reverse-proxy